
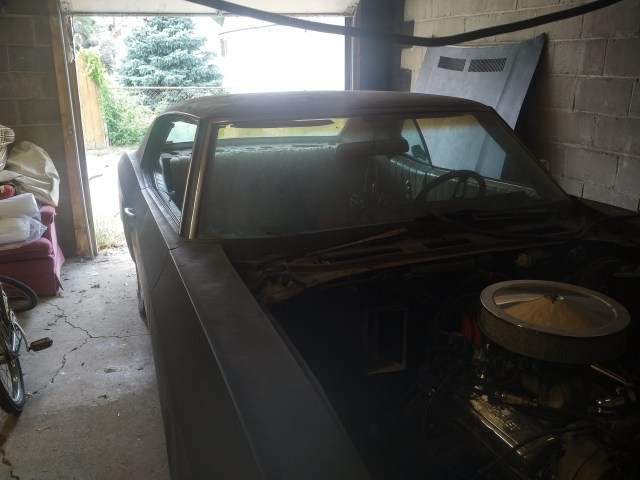
I’ve never shared the monster lurking in my garage before, but here it is.

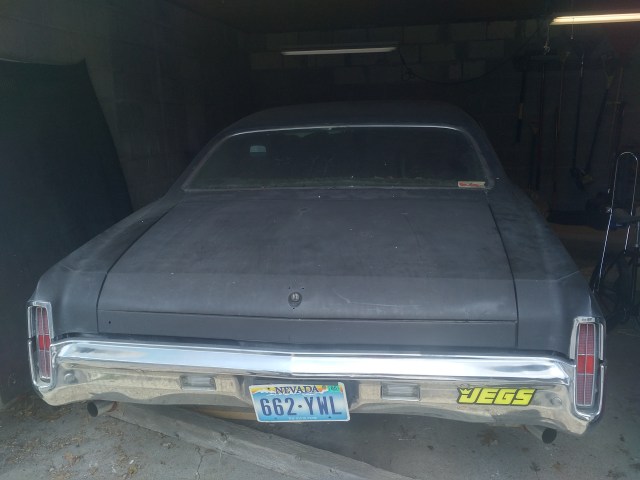
It’s a 1972 Chevy Monte Carlo, all the way from Nevada. The tale of how I wound up owning such a thing is long and convoluted, perhaps a story in and of itself.
Anyhow, this thing has been sitting in my garage for five years and I intermittently get a wild hair up my ass to put some work into it. I won’t mince words, it’s a real piece of shit, so there’s LOTS to do.
Sometimes I just want it out of my life altogether and put it up for sale on Craigslist, but it doesn’t work out and I’ve realized I’m probably just stuck with it, at least until it’s in proper running, usable order.
SOOO I decided to take a step in that direction yesterday. While helping a friend do some odds and ends on his Jeep, I was bitten by the car-working-on bug. It is an insidious little bug and the virus it carries is difficult to cure.
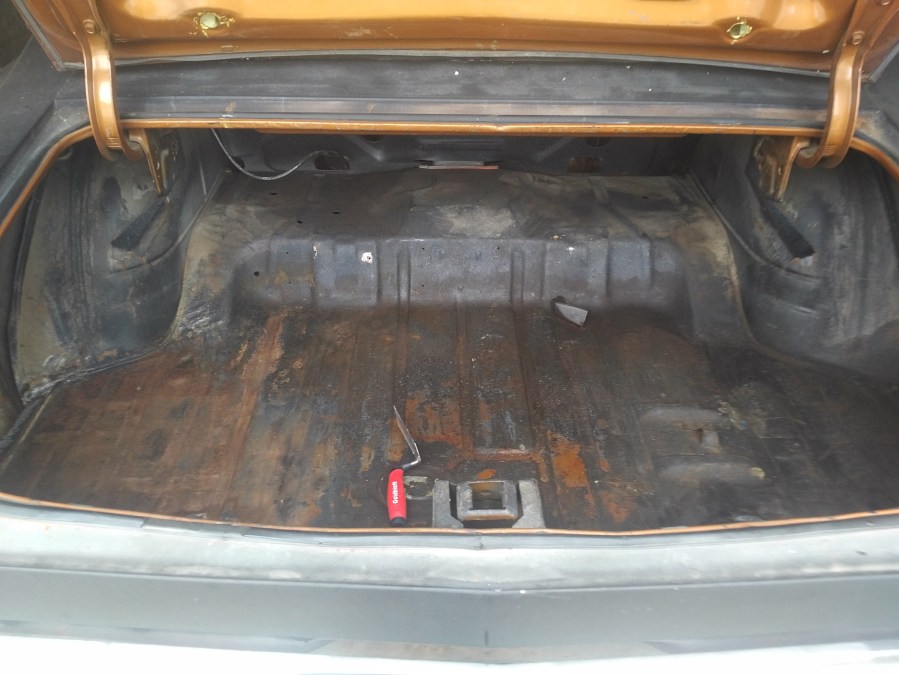
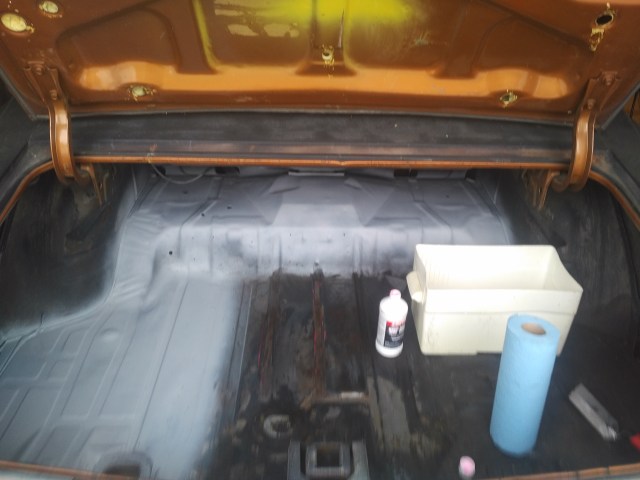
Picking up where I’d left off last year(!), I opened the garage and was greeted with this filthy mess of a trunk. I had spent HOURS stripping nasty old paint off of, only to walk away frustrated, thinking it was never going to get done.

The work I had done already was riddled with surface rust, my own fault for leaving it be for a year, so I just got down to scraping paint from the areas I hadn’t done already.
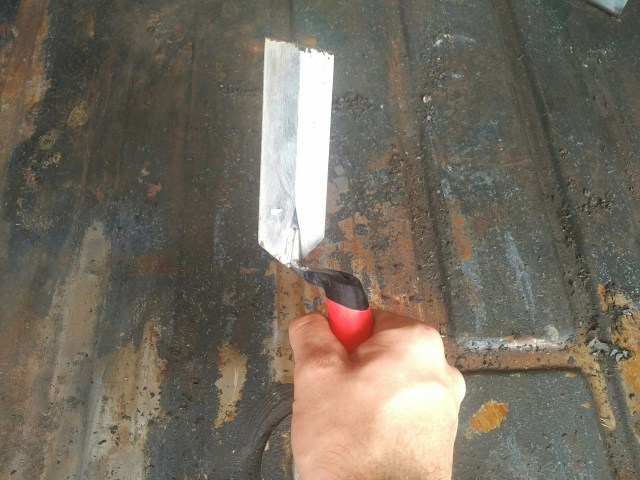

I quickly realized there really wasn’t much paint left to scrape off, as I had done all the truly difficult work previously, without even knowing it. I wasn’t looking to remove ALL the original paint from the surface, only the nasty stuff hiding rust.
Pleased with this realization, I removed what could reasonably be removed paint wise and applied a rust dissolving solution to the…..rust.

As soon as the rust was gone, I sprayed primer on the areas I had worked on before.
Moving on to a few areas which still needed rust removal, I then primed the rest of the trunk floor and sprayed some generic matte black.


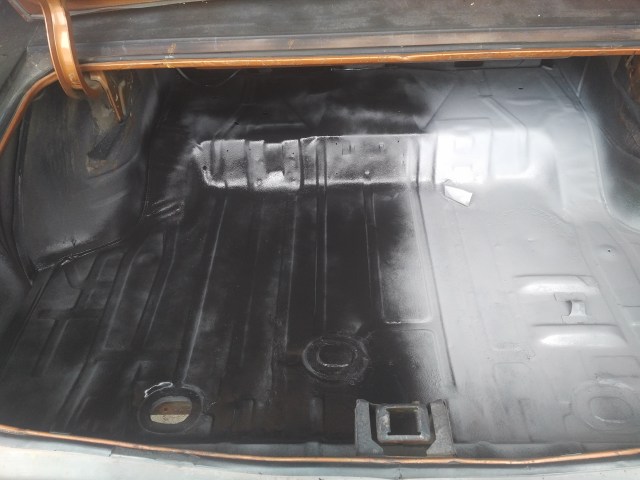
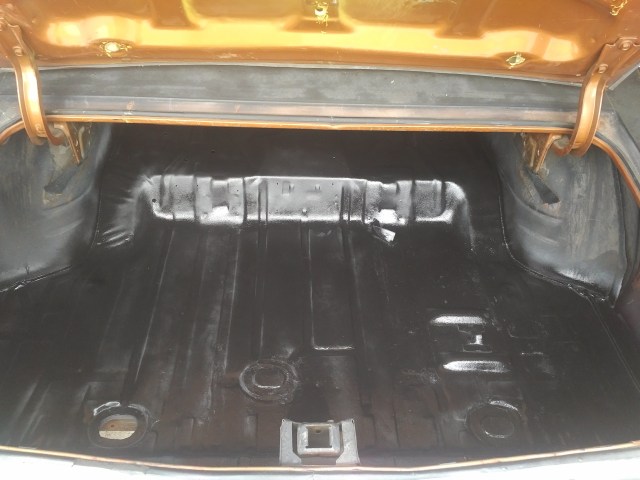
At this point, you can still see some primer peeking through. This was intentional, as I don’t plan to carpet this trunk, so I finished it out with…..

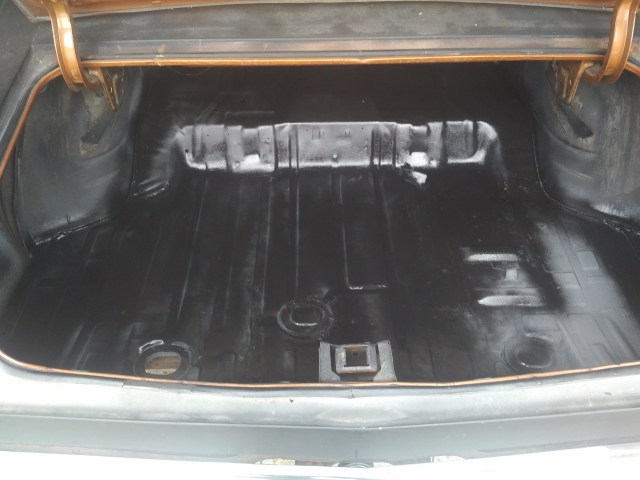
Truck bed coating, to give it a bit of grip so should I actually decide to put anything back there, it won’t fly around.

I left the wheel wells alone on purpose, my only goal was to have a clean, rust-free area for a trunk-mounted battery and any cargo. That battery will likely be the next project when I get around to it, which knowing me, will be sometime next year.
As always, thanks for reading along!
